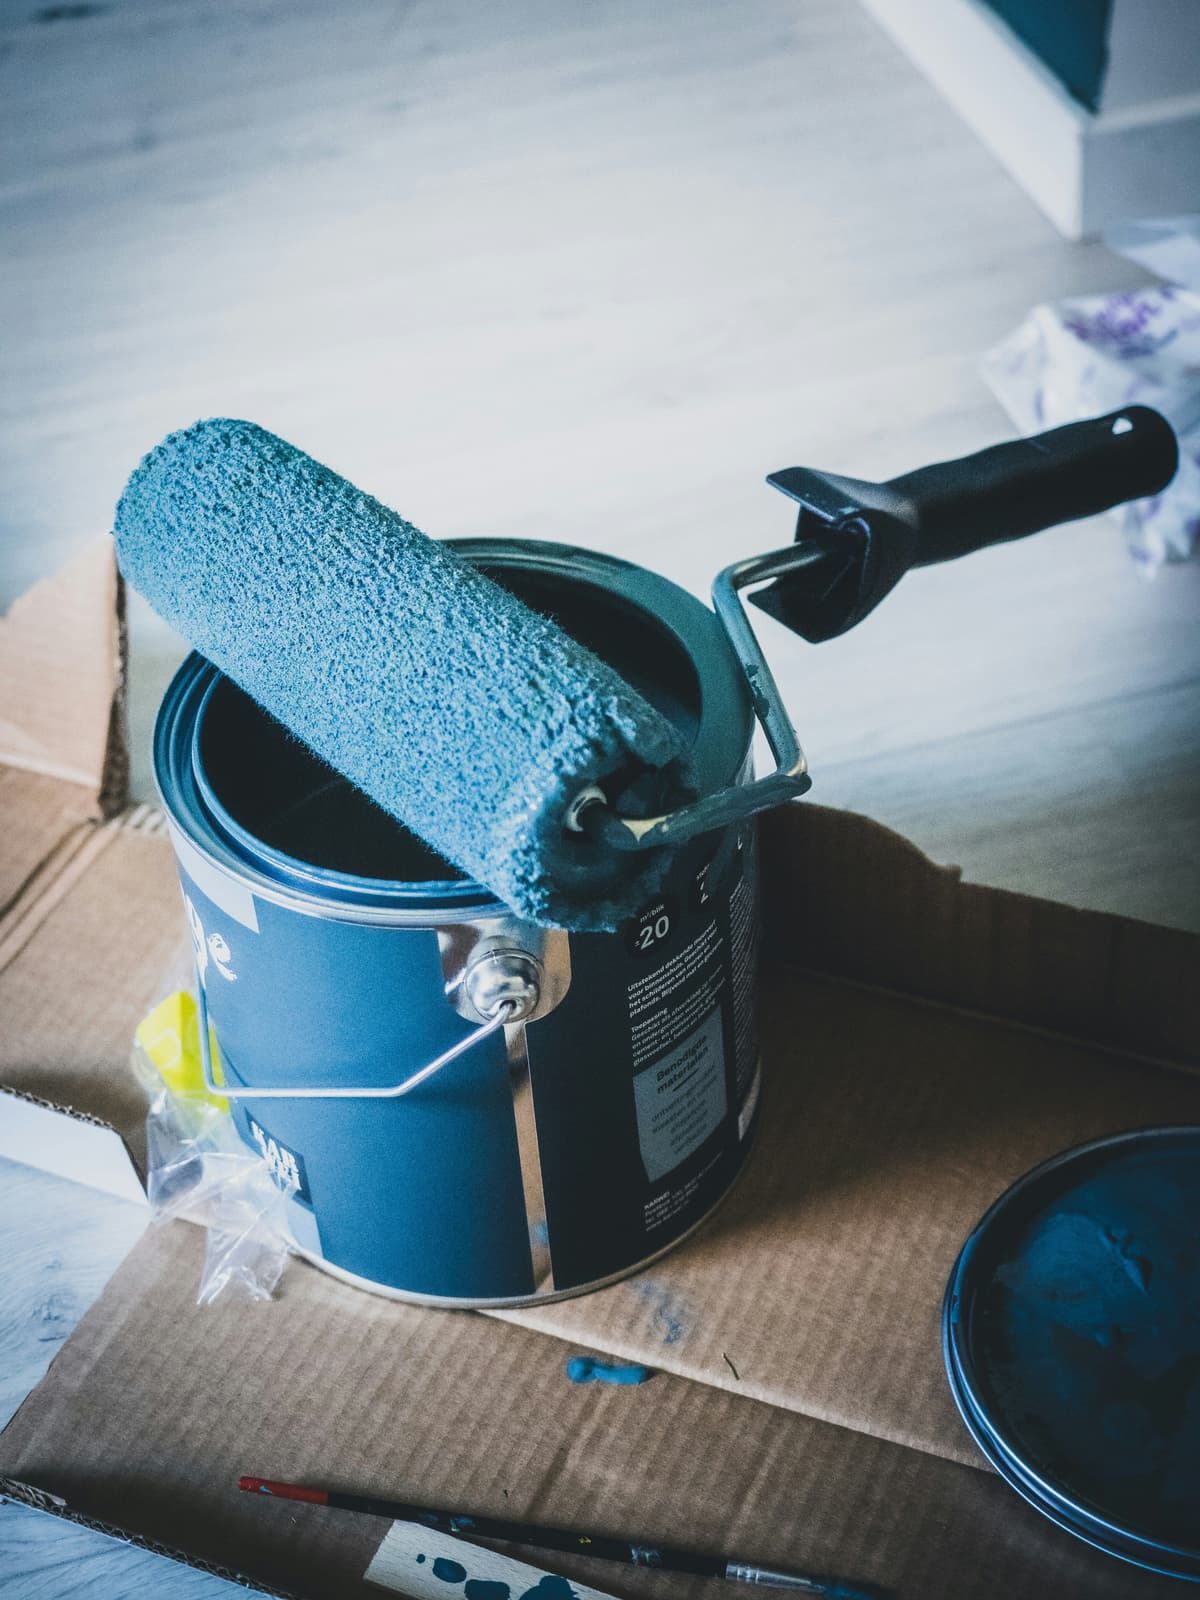
Many people think that painting a room is simply opening a tin, wetting the roller, and starting. The truth is that this approach is behind most paint jobs that begin to peel, stain, or lose colour after a short time. What separates a paint finish that ages well from one that needs redoing in two years is not luck, it is preparation.
When we talk about preparing walls for painting, it is not a luxury or perfectionism. It is the work that ensures the paint adheres to the surface, the finish is uniform, and the investment does not disappear after one wet season. In homes where humidity in winter is constant and many walls show cracks, efflorescence, or old plaster, preparation becomes even more essential.
Surface cleaning: the step everyone wants to skip but most should not
Before anything else, the wall must be clean. It is not enough to look clean at first glance, it must be free of dust, grease, loose old paint residue, and any invisible buildup that prevents new paint from adhering properly.
In kitchens and bathrooms, where grease and condensation accumulate over the years, deep cleaning with a mild degreaser or diluted neutral detergent is essential. The surface must dry completely before moving forward. Walls that feel dry to the touch may still retain internal moisture, especially in rooms facing away from the sun or poorly ventilated.
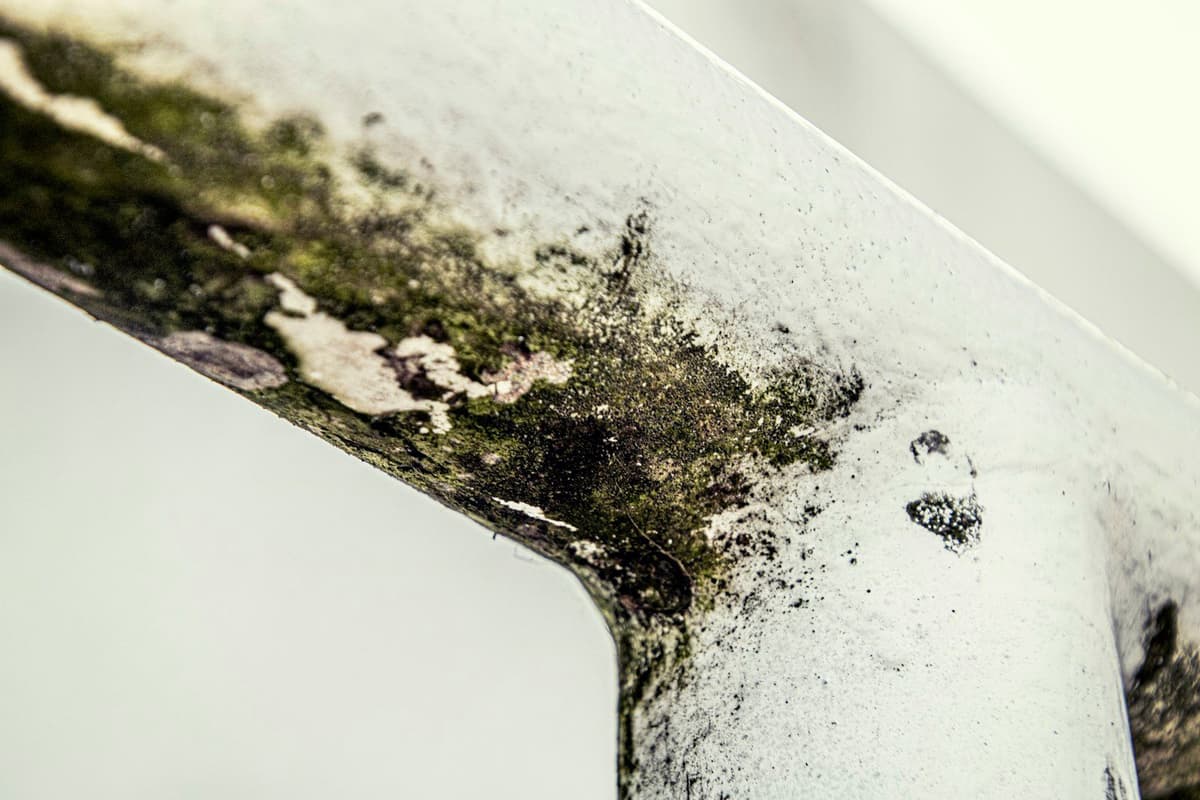
On exterior walls or weather-exposed areas, washing with a brush or even a water jet (on resistant rendered surfaces) removes algae, moss, and pollution residue. Leaving these contaminants under new paint guarantees adhesion failure.
Repairing cracks, holes, and imperfections: the invisible phase that shows in the end
After cleaning comes repair. Cracks, plug holes, peeling from old plaster, or areas where previous paint has blistered must be corrected before any new coats are applied.
Filler putty or fine plaster are applied to damaged areas, left to dry according to manufacturer instructions, and then sanded smooth to wall level. The aim is not to hide the defect under paint, it is to eliminate the defect.
On freshly plastered walls or new plasterboard sheets, the extreme porosity of the surface causes paint to be absorbed unevenly. Without preparation, three or four coats are needed to cover, and even then the finish is uneven. In these cases, waiting for the proper cure time (which can be three to six months depending on ambient humidity) and applying a sealing primer are steps that cannot be ignored.
Primer: when it is needed and why it is not an extra expense
Primer creates an adhesion layer between the wall and the finishing paint. It is not mandatory in every situation, but there are contexts where ignoring it compromises the result.
On unpainted surfaces, highly porous areas, or walls repaired with filler, primer seals the wall and evens out absorption. This means less waste of finish paint and a visually cleaner result.
In damp areas or homes near the coast, where sea air and condensation are a constant reality, using an anti-mould or moisture-resistant primer reduces the risk of stains and blistering over time. Walls that have already had moisture problems in the past should be treated at the source before painting, but choosing the right primer offers an extra layer of protection.
Verifying the real condition of the wall before finalising a quote
When a painting quote is calculated per square metre, the value presented is always indicative. Two walls with the same area can be in completely different states: one may need only light cleaning and one coat, the other may have deep cracks, signs of old dampness, and plaster coming away.
The final price can only be confirmed after assessing the true condition of the surfaces. That is why our platform always asks for photographs and videos of the walls before finalising any quote. This visual assessment anticipates most of the preparation work needed and prevents surprises during the work, for both the client and the professional.
If the wall is in good condition, preparation is minimal. If there is structural damage, infiltration, or degraded plaster, the quote adjusts accordingly, but with transparency from the start.
What comes after preparation: the actual painting
Once the wall is clean, repaired, dry, and if necessary, primed, painting can finally begin. At this stage, the application technique and choice of paint suitable for the room type make the difference, but if preparation was done well, half the work is already done.
Application must respect drying times between coats, use tools suited to the surface type (short-pile roller for smooth walls, longer pile for rough textures), and guarantee minimum conditions of temperature and ventilation during work.
In homes where winters are damp and summers are hot, painting outside extreme seasons (late spring or early autumn) offers more stable conditions. But regardless of the time of year, preparing walls properly remains the factor that most influences how long a paint job lasts.