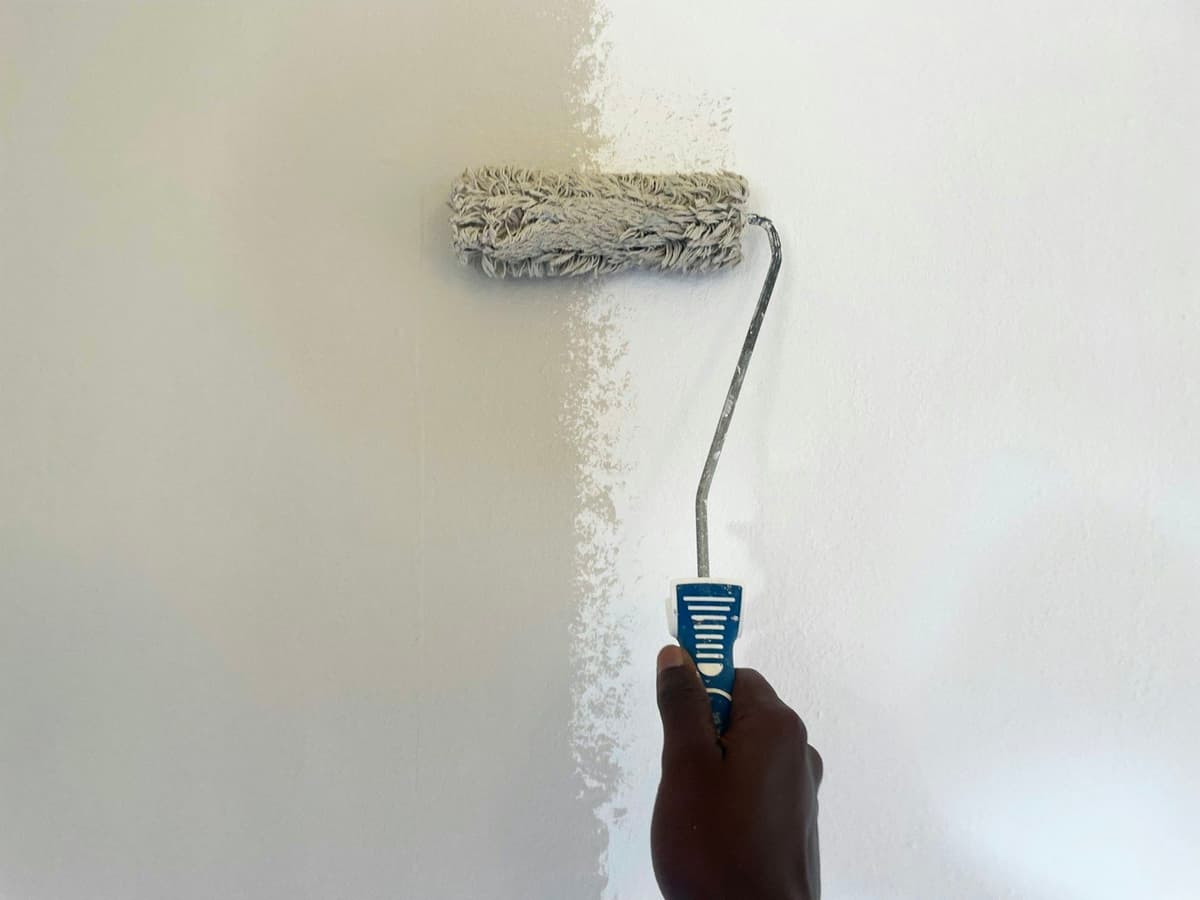
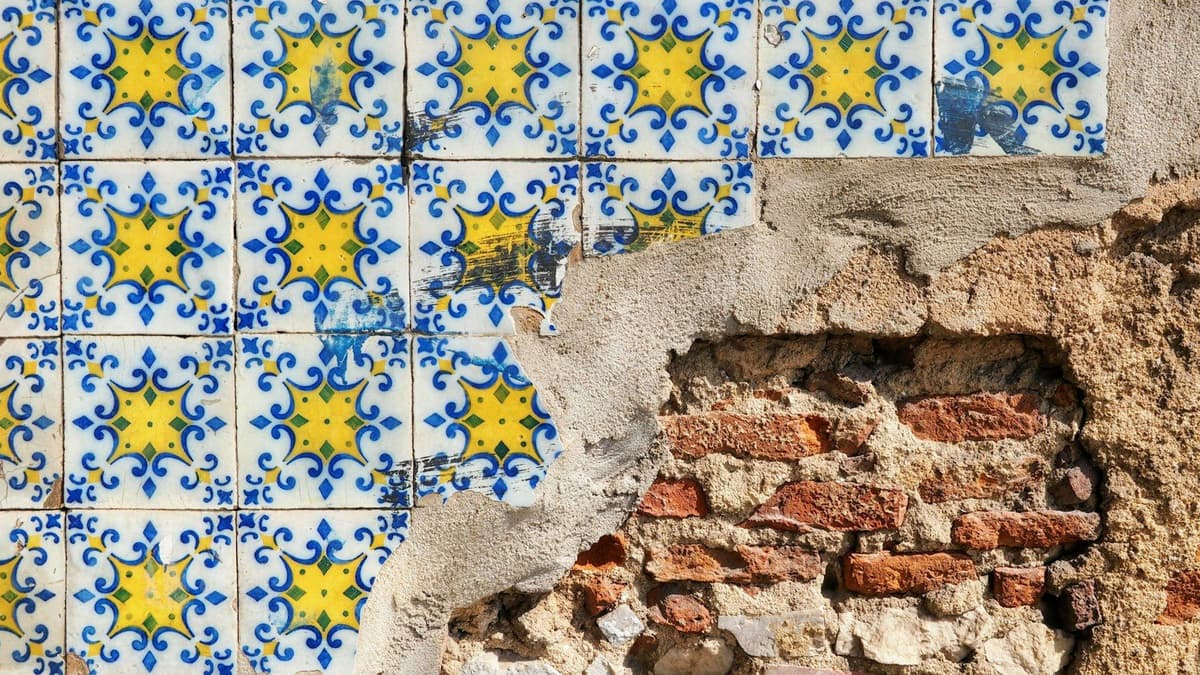
Before opening the first paint tin, there is a question many people skip: what is the right tool for this wall? The answer is not the same for a traditional render in an old house in central Coimbra, a smooth drywall surface in a new apartment in Lisbon, or decorative stucco preserved in a house in Porto. Using the wrong roller or brush does not just spoil the visual finish, it can also force you to apply more coats than planned, which delays the work and increases paint consumption.
How wall texture determines the tool
Smooth walls: drywall and fine stucco
Smooth surfaces, such as drywall, Venetian stucco, or walls already smoothed with fine filler, require rollers with short nap, between 5 and 10 mm, because they distribute paint evenly without leaving unwanted texture marks. On these walls, a roller with nap that is too long creates an "orange peel" effect that did not exist before and is difficult to correct later without sanding everything again.
Rough walls: traditional render and textured surfaces
Many old houses in Portugal, especially in historic areas of Lisbon, Porto, or Coimbra, retain traditional renders with some natural roughness. For these surfaces, rollers with longer nap, usually between 18 and 25 mm, can reach the small ridges and guarantee full coverage, something that a short-nap roller simply cannot do on walls with this kind of irregularity.
Detail areas: skirting boards, corners and mouldings
For corners, skirting boards, areas near switches, or decorative stucco mouldings, the brush remains irreplaceable. No roller fits well into these angles, and trying to do so usually results in paint in the wrong places or incomplete coverage in the corners.
Test the surface before deciding on a tool
Observation in different light conditions
A wall that looks perfectly smooth under artificial light at night can reveal irregularities, marks from old filler, or slight waves when seen in raking natural light, in the morning or late afternoon. That is the moment, before buying a roller or paint, to run your hand over the wall and observe it with side lighting, to see if there are imperfections that need prior correction.
When filler and sanding come before the paint tool
Fine cracks, holes from old wall plugs, or areas where the previous paint has peeled need to be treated with repair filler and sanded before any roller touches the wall. This surface preparation process1 determines, in large part, whether the final paint job will look smooth or whether it will continue to show the old marks underneath.
Comparison table: tool by surface type
| Surface type | Recommended tool | Thickness / type | Note |
|---|---|---|---|
| Drywall / smooth stucco | Short-nap roller | 5 to 10 mm | Even finish, no extra texture |
| Rough traditional render | Long-nap roller | 18 to 25 mm | Covers ridges and natural irregularities |
| Mixed surface (slight roughness) | Medium wool / polyester roller | Medium | Good balance between the two extremes |
| Corners, skirting boards, mouldings | Brush | Variable, depending on detail | Irreplaceable in angles and narrow areas |
| Spot touch-ups on smooth surfaces | Foam roller | Fine | Leaves no hairs or fibres on the wall |
What to do before deciding: practical steps
Before buying materials, it is worth following this order:
- Observe the wall in raking natural light, in the morning and late afternoon, to detect irregularities invisible under artificial light.
- Run your hand over the surface to feel roughness, loose areas, or poorly sanded old filler.
- Repair cracks and holes with suitable filler, respecting drying time before sanding.
- Only once the surface is clean, dry, and level, choose the roller (short, medium, or long nap) and set aside a brush for finishing touches.
- Test in a small area before moving on to the whole room, especially if the wall has never been painted with that type of paint.
When the work is done by a professional through interior painting2, this assessment process usually includes photos and videos of the surface before work begins, precisely so that the tool and number of coats can be adjusted to the actual condition of the wall, not a generic per-square-metre estimate. On our platform, this kind of per-m² quote is always indicative: the final price is only confirmed once the professional assesses the real condition of the surfaces, either through photos and videos or a site visit, and so we always request this visual record before confirming any quote.
Frequently Asked Questions
In practice it is not recommended, because each room can have different surfaces, such as smooth walls in the living room and slightly textured ceilings in the kitchen. It is ideal to have at least two types of roller available, one with short nap and another with medium or long nap.
The foam roller works best on spot touch-ups or small, very smooth surfaces, but it is not the most efficient for covering large areas because it holds less paint than a wool or polyester roller.
A higher-quality roller generally sheds fewer hairs during application and distributes paint more evenly, which reduces the number of coats needed. In the long run, it usually pays off, especially on large walls or jobs where the final finish is visible up close.
If you feel irregularities when running your hand over it, or if shadows and marks appear in raking light, this is a sign that the surface needs repair before paint. Skipping this step usually makes imperfections even more visible after painting.
No, an experienced professional adapts the tool to the condition and texture of each wall, and does not use the same material throughout all rooms. This is also why it is worth confirming that the professional you hire is properly registered as self-employed or with an incorporated company, something our platform verifies before presenting any option to the client.
Ready to paint?
Get free quotes from verified local painters in minutes. No commitment.
Sources
External sources open in a new tab.
- Técnicas de pintura interior: ordem de trabalho e ferramentas certaspinturasportugal.pt
- Pintura Interiorpinturasportugal.pt