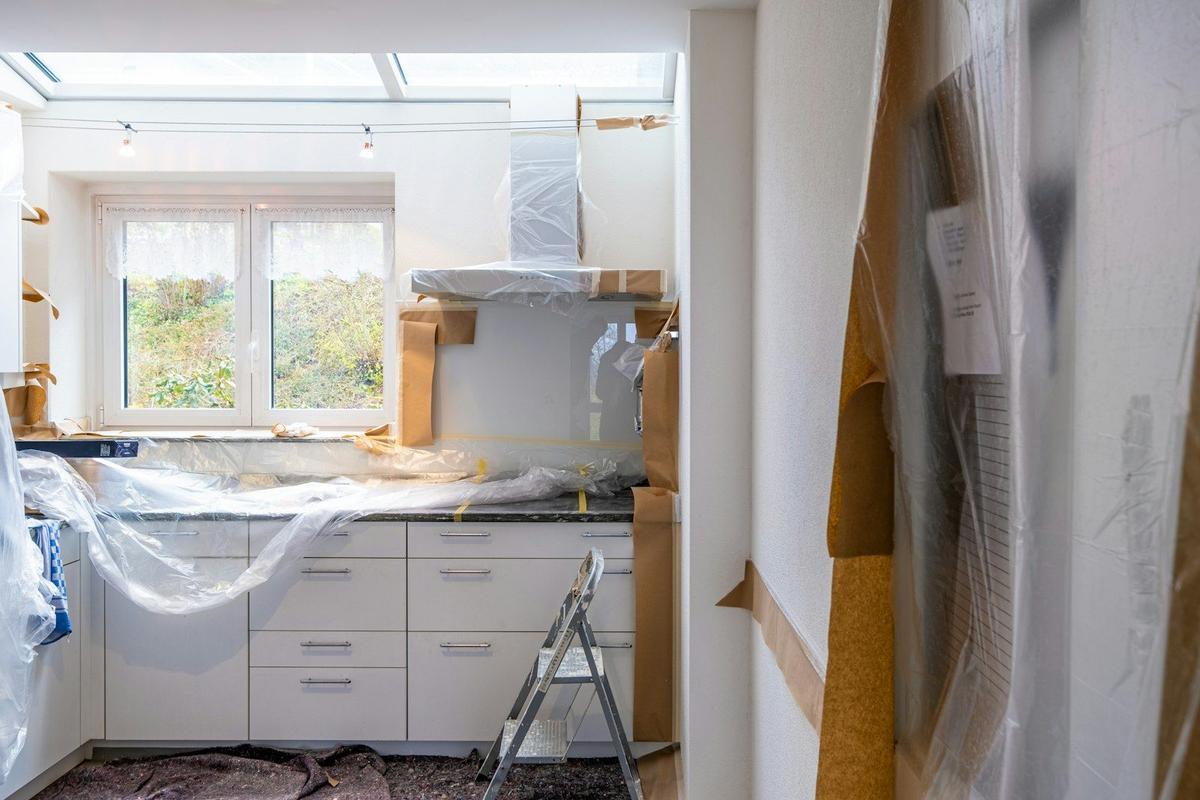
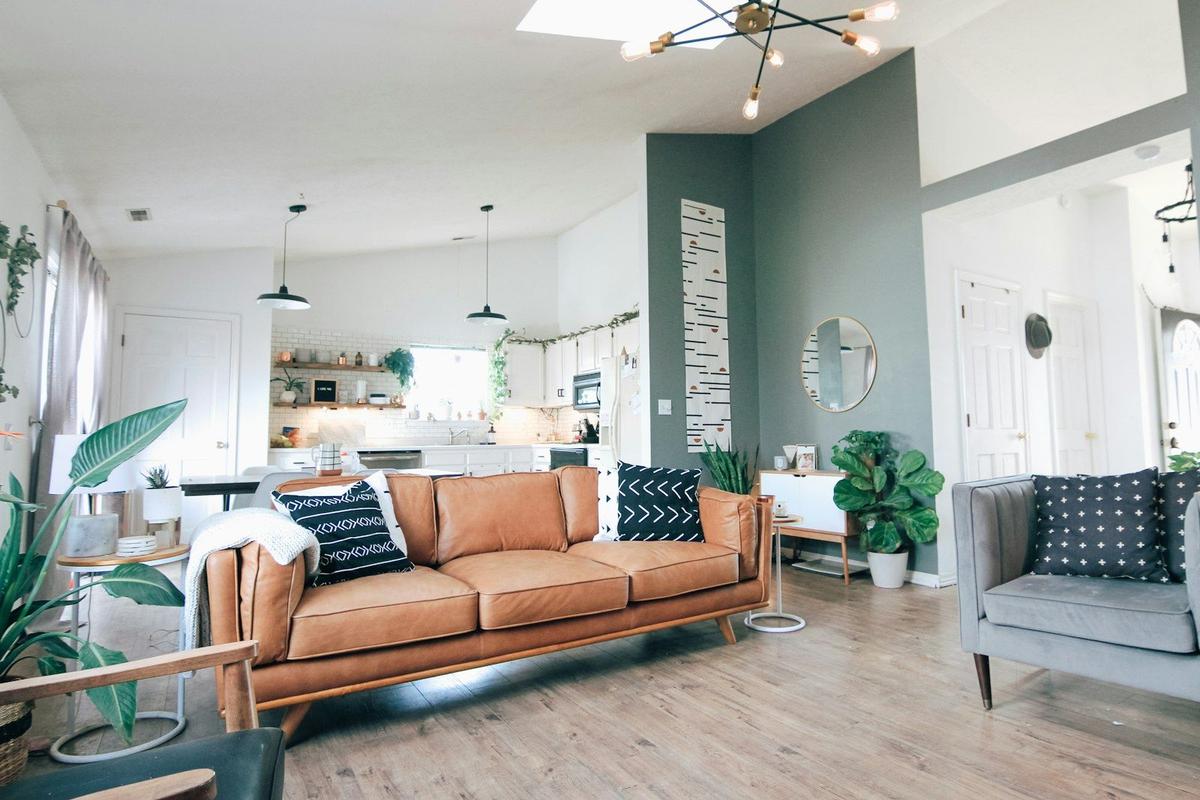
Painting a smooth wall with a roller is the simplest part of any interior painting project. The real challenge, and what truly sets professional work apart from amateur efforts, lies in the details: corners, baseboards, window frames and hard-to-reach areas like behind radiators. This preliminary work is covered in wall smoothing, a service that makes all the difference to the final result.
Cutting technique: the art of painting without tape
How to work corners and angles
The cut (the fine line that separates two colours or two surfaces, such as wall and ceiling) is the most demanding part of any interior painting. The technique involves using a quality flat brush, loading it moderately, and drawing the line with long, firm strokes, always close to the tape or the natural edge of the surface. Experienced painters can do this without tape, but for those without daily practice, painter's tape remains the safest ally.
Order of work within each room
Following a logical sequence saves time and avoids overlapping marks:
- Ceiling first, starting with corners using a brush and filling the rest with a roller in areas of about 1 m² at a time
- Walls next, always from top to bottom and without interrupting an area halfway through (to avoid visible colour differences)
- Doors and window frames after the walls have dried
- Baseboards last, to avoid splashing on already painted areas
This care with order and drying between stages is also explained in interior painting techniques1, but it is worth emphasizing that rushing these details is the most common cause of rework.
Difficult areas: baseboards, radiators and limited-access zones
Baseboards with clean finish
For a baseboard with defined lines, the brush should be held almost vertically, with the tip lightly loaded with paint, and applied in continuous strokes along the entire length. Paints with satin or glossy finishes typically resist wear better and retain less dust than matte, which is relevant in an area subject to frequent contact with footwear and vacuum cleaners.
Areas behind radiators and pipes
Long-handled or articulated brushes allow you to reach narrow spaces without dismantling the radiator. In these areas, the most common mistake is applying too much paint just because it is difficult to see the result, which then drips and stains the baseboard below.
Comparison table: tools by detail type
| Area to paint | Recommended tool | Main care |
|---|---|---|
| Wall/ceiling corners | Flat brush 5 cm | Moderate paint load, continuous line |
| Baseboards | Flat brush or mini-roller | Brush held vertically, long strokes |
| Window frames | Round-tip brush | Tape protection, thin coats |
| Behind radiators | Long-handled brush | Avoid excess paint, risk of dripping |
| Plasterboard joints | Brush + sealing primer | Only after joint is dry (24h) |
Drying and humidity: the factor that delays a good finish most in November
As late autumn arrives, the relative humidity of the air rises across practically all Portuguese territory, and this has a direct impact on how long each coat takes to dry. As explained for spring or autumn house painting, temperatures between 10°C and 25°C, with relative humidity below 75-80%, are the ideal range for most painting work. In November, especially in older or poorly ventilated homes, it is wise to allow more time between coats than indicated on the package.
Some good practices for this time of year:
- Ventilate the room during and after each coat, even if it means opening a window for just a few minutes at a time
- Avoid applying a second coat just because the first is no longer tacky to the touch, as drying in depth takes longer
- On detail points (corners, baseboards, mouldings), always apply thin layers, as they dry more evenly than a thick coat
- Keep furniture away from the wall for longer than in summer, as full curing takes longer with more humid air
Next practical step: a quick test before painting the entire room
Before proceeding with full room painting, it is worth testing on a small, inconspicuous area, such as behind a door or inside a cupboard. Applying the brush and roller exactly as you would for the rest of the room allows you to see if the wall absorbs the paint uniformly, if more coats are needed than expected, and if the drying time matches what is expected for the day's humidity. This small trial prevents surprises midway through the work and helps calculate more accurately how much material and time the entire project will require. When the project is carried out through our platform, we always request photos and videos of the surfaces before finalizing any quote, precisely so this type of adjustment is already factored in before the team arrives at your home.
Frequently Asked Questions
It is not mandatory, but it is the safest method for those without practice. Experienced painters can create clean lines with just a brush, but this requires training and a steady hand. For occasional painters, tape avoids touch-ups and saves time at the end.
No. Window frames and radiators typically need specific paints for wood or metal, with greater resistance to friction and, in the case of radiators, tolerance to temperature variations. Using wall paint on these elements results in a finish that peels quickly.
It depends on the humidity and ventilation of the space, but on more humid days it is wise to extend the interval recommended on the package. Good ventilation between coats helps speed up drying without compromising the finish.
Often yes, especially in homes with period baseboards, decorative mouldings or hard-to-reach areas. A professional with experience handles these points more quickly and with less risk of stains than someone doing it for the first time.
The touch test is not sufficient, because the surface may feel dry without being cured in depth. The ideal is to respect the time indicated by the manufacturer and, on humid days, extend that interval rather than risk applying the next layer too early.
Ready to paint?
Get free quotes from verified local painters in minutes. No commitment.
Sources
External sources open in a new tab.
- Técnicas de pintura interior: ordem de trabalho e ferramentas certaspinturasportugal.pt