Painting a room is not just about choosing a color and opening the tin. The difference between a finish that looks professional and one with roller marks, drips or poorly defined corners usually comes down to work order and choosing the right tool for each surface type. This guide focuses on technique: where to start, which brush or roller to use in each area, and how to handle the slower drying times that autumn typically brings to Portuguese homes.
Where to start: the order that avoids rework
Many people start painting the area they find easiest, usually the smooth, large wall. But the correct order protects work already done and prevents paint from one phase staining the next.
Ceilings first, then walls, then baseboards
The ceiling should always be the first surface to receive paint, because any splashes that fall on the unpainted wall can easily be corrected later. Only after the ceiling is dry should you move on to the walls, and baseboards and frames should always be left until last, when there is no risk of drips from above.
Corners and edges before large areas
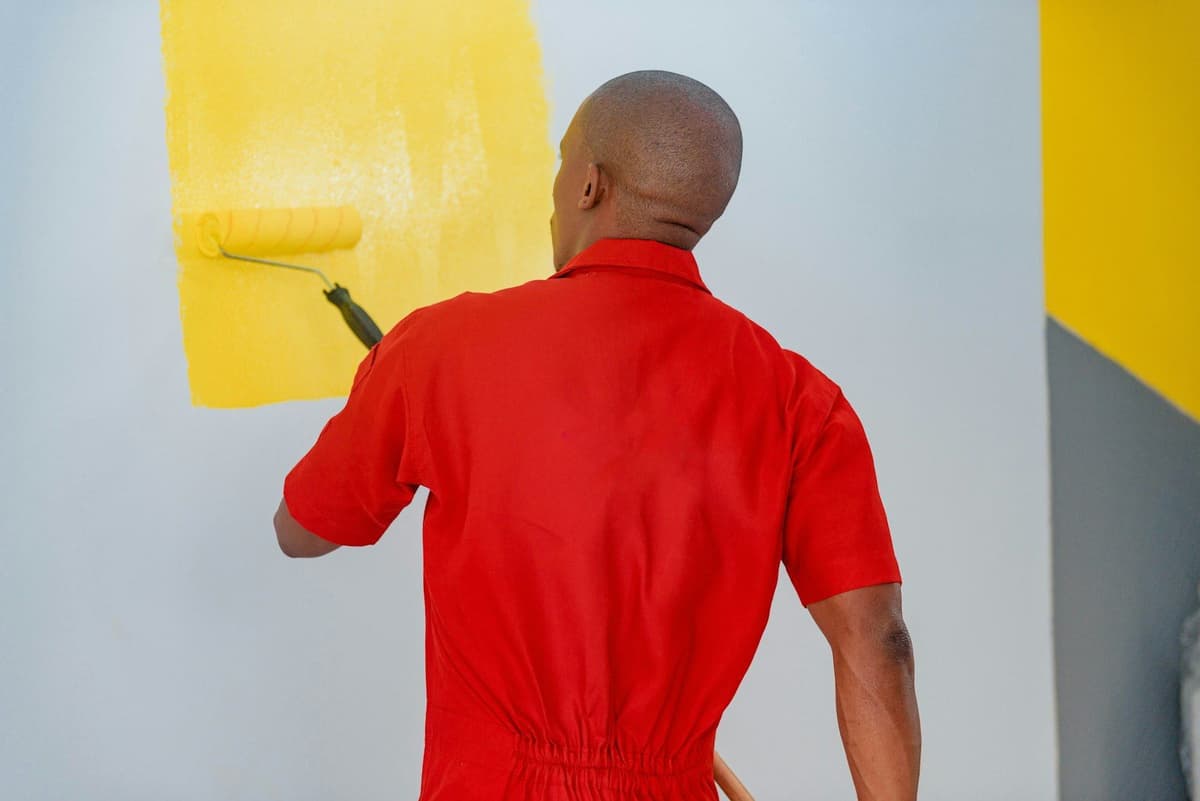
The technique most used by professionals is to always start with angles, corners and edges using a finer brush before running the roller over larger areas. This ensures that transitions between wall and ceiling, or between wall and frame, are well-defined and flawless, and that the roller only needs to cover open and regular areas.
Work by sections, not entire walls
Instead of trying to paint a wall from end to end at once, divide the work into sections of about one square meter, always applying the paint in the same direction. This approach prevents the dreaded "joining marks", which appear when one area starts to dry before the next is painted over it.
Which tool to use on each surface
Not every wall needs the same tool. Choosing the wrong roller or brush is one of the most common reasons for an uneven finish.
- Short pile roller: ideal for smooth walls and surfaces with a smooth or fine plaster finish, gives a uniform finish without texture.
- Medium to long pile roller: better suited to rougher surfaces, such as traditional renders common in older homes in Porto or Coimbra.
- Synthetic bristle brush: essential for corners, recesses, around switches and near frames, where the roller cannot reach.
- Wider brush: useful for baseboards and narrow, long surfaces, where speed is sought without losing control of the stroke.
Protect what won't be painted
Before using any tool, it is worth delimiting baseboards, frames and outlets with appropriate protective tape, and covering the floor and any furniture left in the room. This step may seem unnecessary, but it saves hours of cleaning afterwards and protects surfaces that are not part of the work.
Drying and ventilation: the factor autumn complicates
Technique of application matters, but the time paint takes to dry between coats depends very much on the conditions in the room, and this varies greatly depending on the season.
Why drying is slower at this time of year
With the arrival of autumn, relative humidity rises and temperatures fall, two conditions that slow down the evaporation of water in the paint. On more humid days or in unventilated enclosed spaces, drying time can practically double compared to what is indicated on the tin, meaning applying the second coat too early is a common mistake at this time of year.
How to adjust your work pace
| Environmental condition | Effect on drying | What to do |
|---|---|---|
| High relative humidity (above 70%) | Slower drying, risk of film that doesn't harden | Ventilate the room, use a dehumidifier if necessary |
| Low temperature (below 15ºC) | Slow drying, risk of staining | Slightly warm the room, avoid direct cold air currents |
| Good cross ventilation | More balanced drying | Keep windows slightly open without creating a direct current over the fresh paint |
These variations have been explored in greater detail in the article on interior painting in autumn1, but it is worth reiterating that the technique of application and the waiting time between coats always go hand in hand with environmental conditions.
Signs that the room is not ready for the next coat
- The surface is still cold or slightly damp to the touch.
- There is visible condensation on the window panes in the room.
- The paint smell is still very intense, a sign that evaporation is slow.
Putting it into practice: a simple plan for your next painting
For anyone planning to paint a room at home in the coming weeks, a practical plan helps avoid wasting time or compromising quality:
- Clear or protect the room and seal off baseboards, frames and outlets.
- Paint the ceiling first, let it dry completely before moving on.
- On walls, always start with corners using a brush, then use the roller appropriate to the surface texture.
- Work in sections of about one square meter, always in the same direction.
- Ventilate the room between coats and adjust waiting time to actual humidity and temperature, not just what is indicated on the tin.
When the work is done by a professional, it is worth asking for the quote to include photos or video of the surfaces before finalizing the price, because a quote per m² is always indicative until the actual condition of the walls is assessed. On our platform, this assessment by photos and video (or a site visit, which works the same way) is always requested before finalizing any price, precisely to avoid surprises during the work. For larger projects, interior painting2 done by an experienced team saves time and reduces the risk of rework.
Frequently Asked Questions
The ideal approach is to start with the ceiling, then the walls, and finally the baseboards and frames. Within each wall, corners and edges should be done first with a brush, before rolling the larger areas.
For rougher surfaces, such as many walls in older Portuguese homes, a medium or long pile roller usually gives better coverage than a short pile roller, which is designed for smooth walls.
In autumn, with more humidity and lower temperatures, drying time can be considerably longer than indicated on the paint tin. It is best to ventilate the room well and confirm that the surface is dry to the touch before applying the next coat, rather than following only a fixed number of hours.
Yes, ventilation helps both with drying and with air quality in the room. The ideal is to keep windows slightly open without creating direct currents over the fresh paint, and increase ventilation in the first few hours after each coat.
It is not recommended to paint directly over dampness stains without first identifying and treating the cause. This topic has its own particularities that are worth evaluating on a case by case basis before proceeding with any coat.
Ready to paint?
Get free quotes from verified local painters in minutes. No commitment.
Sources
External sources open in a new tab.
- Pintura interior em outono: técnicas e preparaçãopinturasportugal.pt
- Pintura Interiorpinturasportugal.pt